I've had this model finished for a couple months but I finally had some time to collect up the photos and turn it into several entries.
1. The Package.
- One of the things I love about the Horus Heresy Character Series is the packaging. Each model comes packed in a really cool box that I don't throw out. The paper insert also has a picture of the model and some of them even have instructions on how to assembled the kit (you'd think each and every model would have instructions...what a novel concept!).
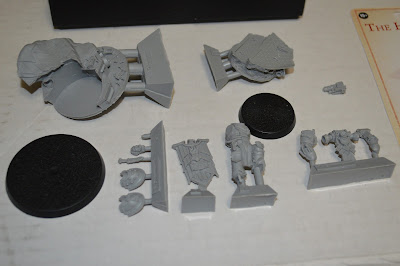
- The Alexis Polux kit comes in 14 separate, very well-cast pieces. Apparently Forge World uses a different sculpting/casting process for the Character series so the fidelity on these models is absolutely incredible.
2. Prepping the Kit
- Because of the casting process used on the Character Series, very little clean up was needed. I just used a soft toothbrush, some odorless dish soap (because The Emperor's Finest should NOT smell like apples and lilac), and some warm water to remove any leftover lubricants used in the casting process.
- Protip: Getting in the habit of cleaning the models beforehand is a habit any minis painter should follow. Depending on what lubricant is used, this can end up causing primer to not adhere properly to the model and thus resulting in the paint rubbing off, thus causing you much grief after spending many hard hours painting.
3. Test Fitting the Kit.
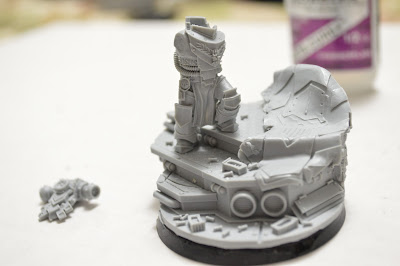
- Another good practice to get into is simply just making sure the model fits together properly. Because the models are cast in molds, when the model is released from the model and cools, this can sometimes cause pieces to warp or settle incorrectly. Doing a test fit is a good way to see if all the appropriate pieces fit the way they are supposed to.
- Forge World is incredibly great at replacing parts that may have been miscast, damaged, or missing, so I recommend holding on to the box the model came in as you will need the batch number from the attached label.
- In the pics below, I had tried positioning the body on the base in different ways to try and determine the optimal position.
4. Priming the Model
- May painters underestimate the importance of a good primer layer. The primer provides a surface for the paints to bind to as well as can determine how bright or rich the final paint job is.
Differences in primers:
- Black
- Tends to result in a much more rich, deeper hue
- Can be used as a shading layer
- A lot less difficult to make mistakes
- More paint is required to paint over the black
- Grey
- Quickly becoming my favorite color for priming
- A neutral hue so colors are easier to apply with using less paint
- Models are not too dark or not too bright
- White
- Great when you need vibrant, bright colors
- Dirty hands can smudge the white paint though
- Errors are much more visible
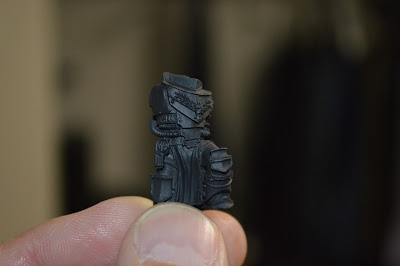
- For Alexis Polux, I used a black primer. I am a huge fan of Rustoleum's 2X line of spray primers. They are cheap (around $4/can compared to GW's $18/can), they provide an amazing matte coat, and they tend to coat fairly evenly.
- Fair warning: the primer nozzle will clog up over time so I try to wash the nozzle off after every use.
- Another fair warning: The GW Citadel spray undercoat dries really quickly, but the Rustoleum brand primer can take a couple hours to completely dry although you can start painting on it after about 20 to 30 mins. It's just better to wait until it's thoroughly try.
5. Base Coat
- Because Polux is an Imperial Fist, the VII Legion color is yellow. Yellow is actually quite a difficult color to paint because the pigmentation is so thin, it's prone to streaking.
- For this model, I used my handy dandy airbrush to spray on a thin but even layer of Averland Sunset and the shield was painted with Vallejo Tinny Tin
That's all for now. Next post will get into shading the recesses, and some of the first layers of blending.


No comments:
Post a Comment